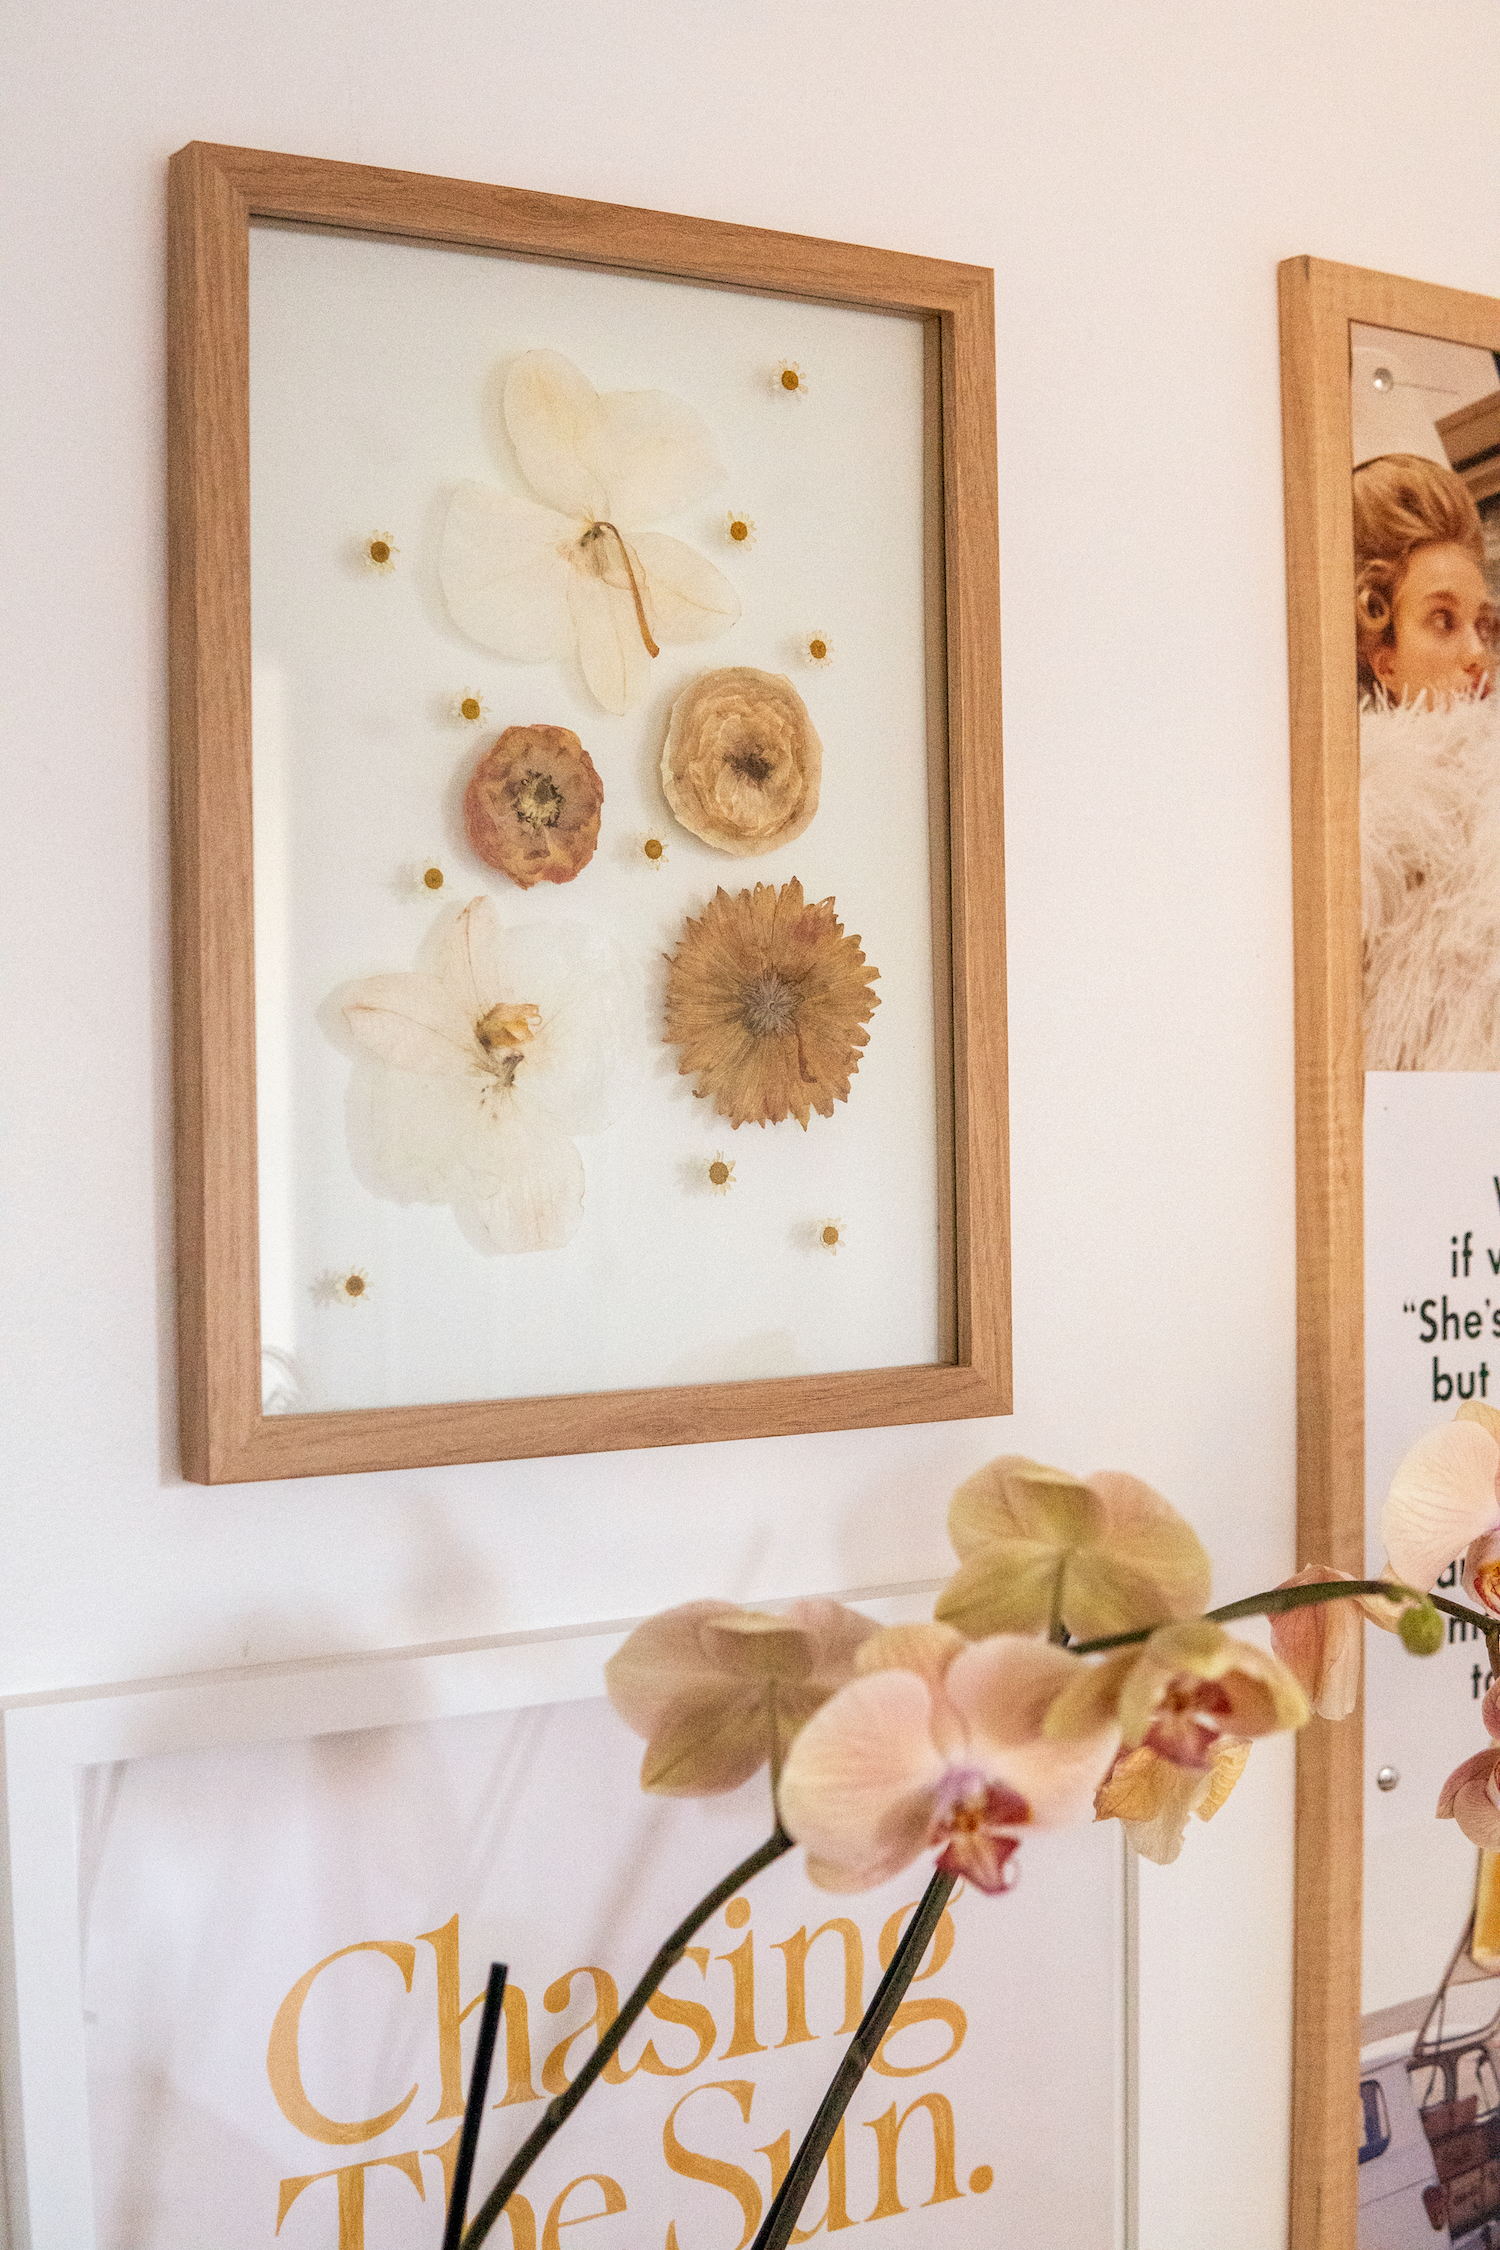


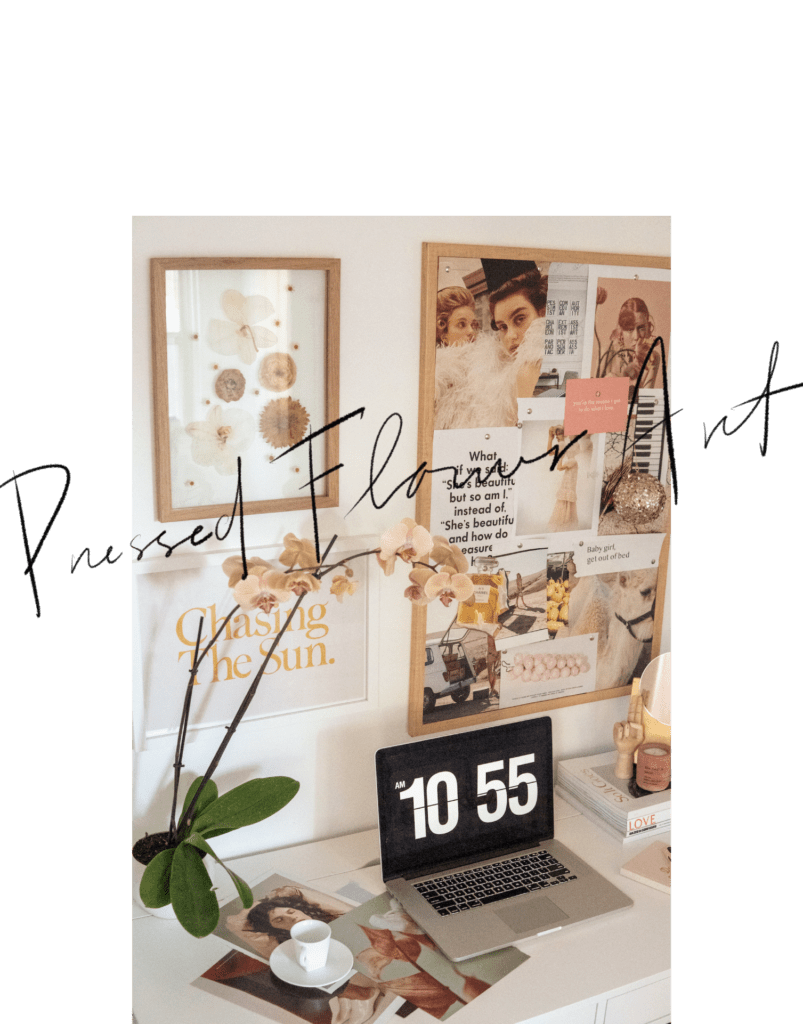
I’ve been wanting to create a pressed flower piece for my office for a while now. I LOVE floral art and photography and thought it would be fun to have something that I made up on my office wall. The process is super easy and doesn’t require much.
What you’ll need…
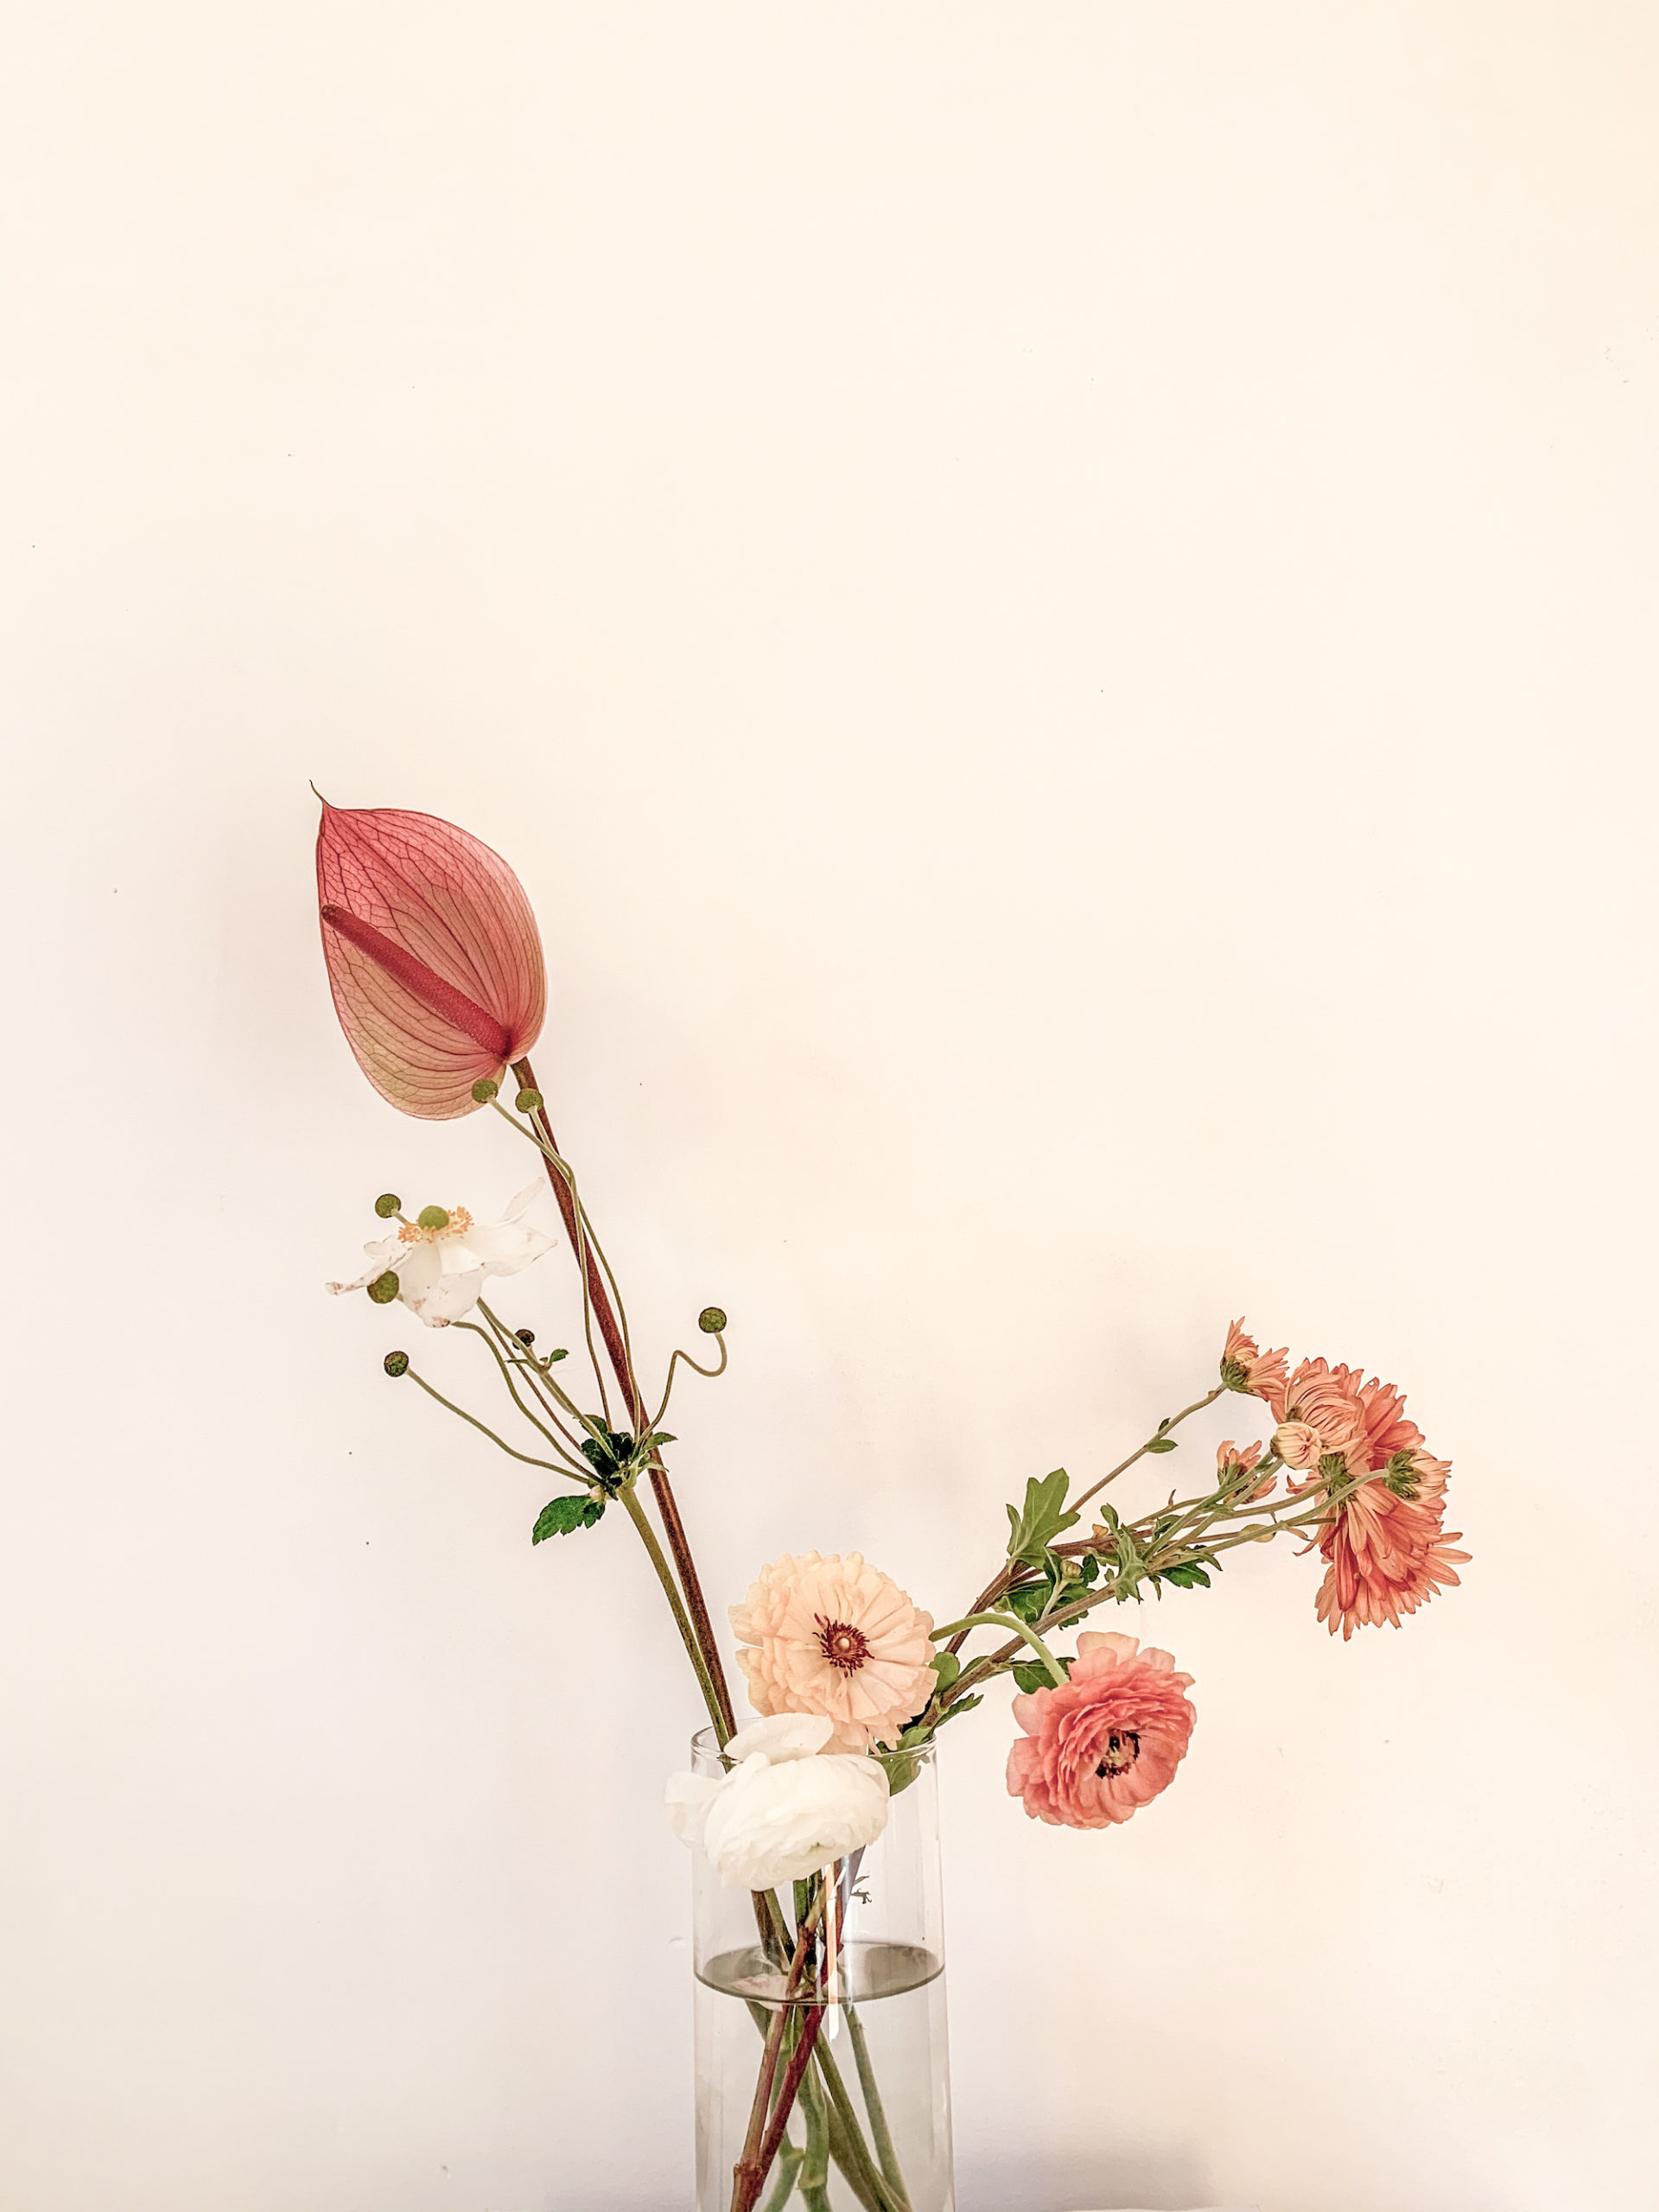
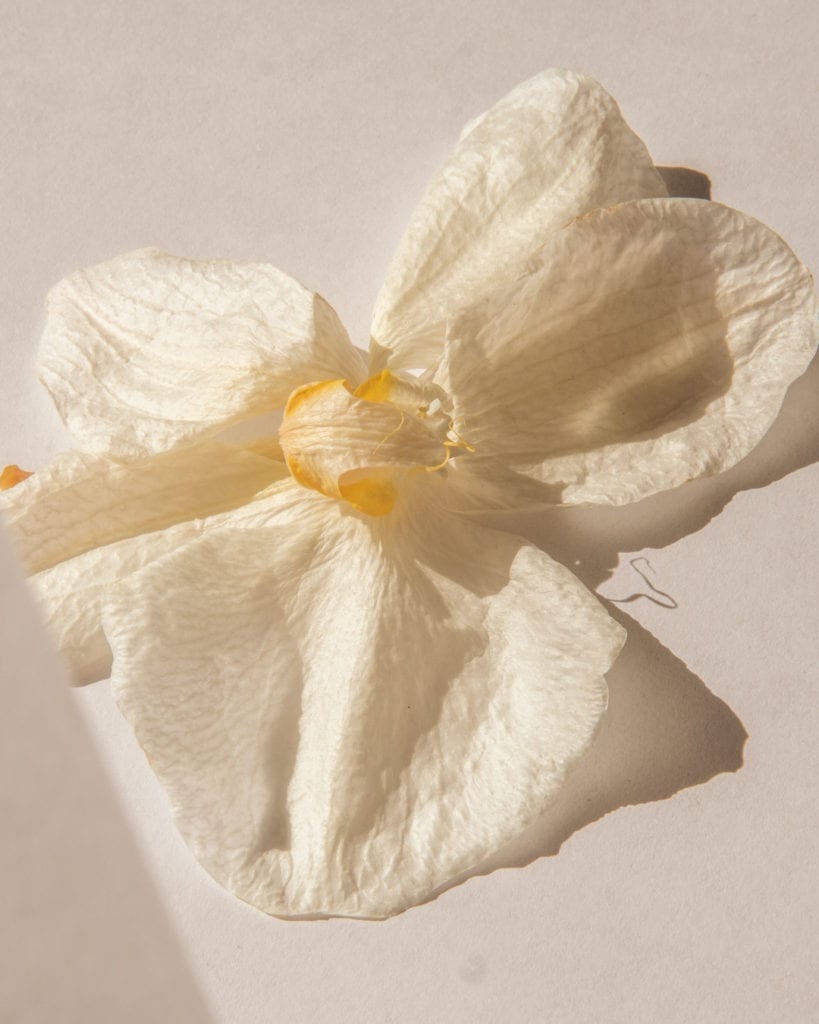
- Flowers that can be pressed flat (I used orchids, daisies & poppies)
- Parchment paper
- Heavy books or magazines
- Hot glue gun
- Floating frame (I got mine at Target but you can find a similar one HERE.)
Step 1
Prepare your parchment paper. I cut off a piece about 2x as big as the book I was using. Then, fold the parchment in half so it matches the size of the book you’ll be pressing your flowers in.
Step 2
Carefully remove your flowers from their stems and place them in the center of one side of your folded parchment paper. Fold the parchment paper over your flowers and slide both the flowers and parchment paper into a large book or magazine.
Step 3
Stack 4-5 additional large books or magazines on top of the book your flowers are in and let sit for 1-2 weeks. Your flowers will be ready when all the moisture has been removed from their petals.
Step 4
Once your flowers are pressed and ready, it’s time to build your layout! Remove the glass from your floating frame and arrange your floral art piece. I added a dot of hot glue to the back of each flower to hold them in place.
Step 5
Place the top piece of glass over the piece your flowers are on and set both pieces of glass back inside your wooden frame. Voila! Hang that baby on the wall!
Happy crafting!
xx,
Ariel
keep reading…